Dover Court International School Cubs are all given a Raspberry Pi to experiment with. For many of them this is probably the first computer that they own themselves, and are allowed to mess around with. Setting up the Raspberry Pi, or “RPi” for short as it is sometimes called, will probably need a little assistance from parents. This is where this guide comes in.
Welcome to the Raspberry Pi
Welcome to your new computer. This isn’t just any computer like you might have seen or used before. The Raspberry Pi is a small computer that can be powered using a power supply normally used for mobile phones, and you just need to hook it up to any TV or monitor, keyboard and mouse to use. You can take it anywhere. The plan is to occasionally use the the Raspberry Pi in a few projects at Cubs to show how this can be used to sense our environment, and make things happen. Mostly it is encouraged that Cubs will play around with the RPi at home, and investigate what they can do with it.
Getting Started
What You Need
The Raspberry Pis that are provided to Cubs are a basic Model B+. This is not the most powerful version available, but is perfectly adequate for all the tasks that we have in mind. It is vastly more powerful than the first computers that I had the privilege of learning on in my youth (mid-1980s), and has a CPU that is equivalent to an old Intel Pentium 2 processor, and a GPU that is on a par with the original Microsoft Xbox console. At the size of a credit card, the computer is no slouch.
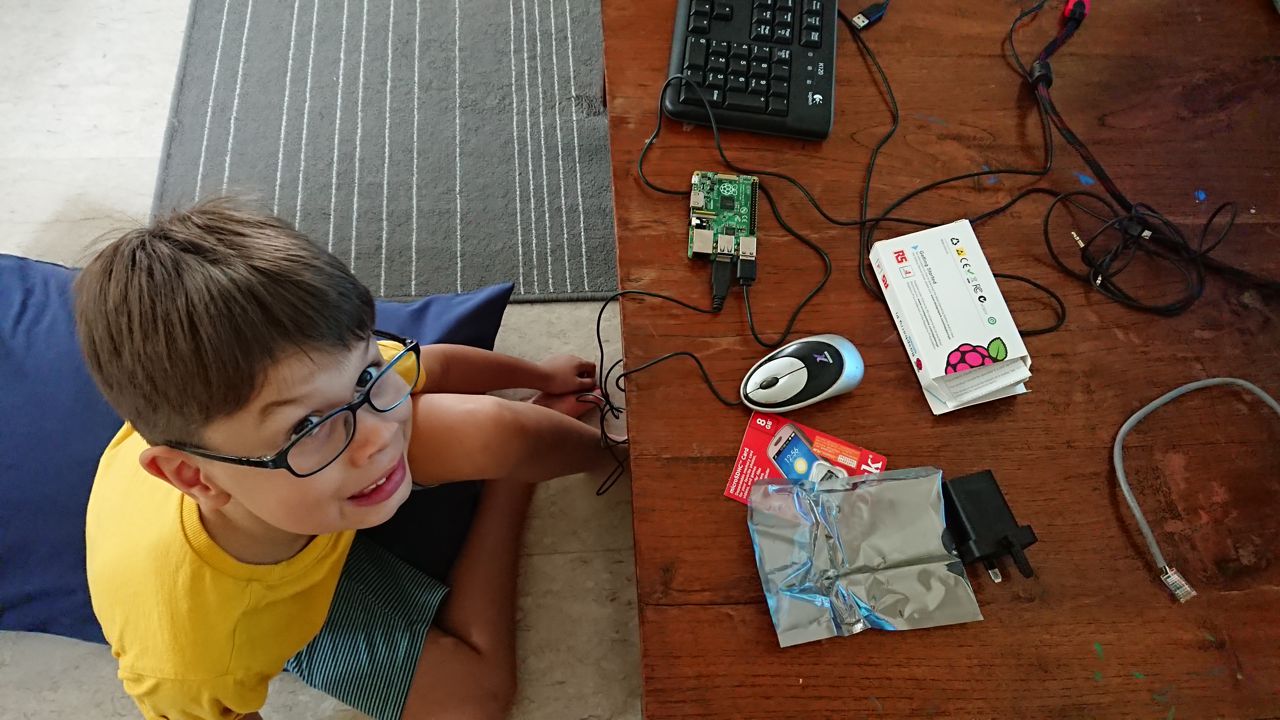
The Cubs are provided with two items only:
- The Raspberry Pi model B+
- An 8 GB MicroSD card with “New Out Of Box Software” (NOOBS) pre-installed.
To create a fully working computer the Cubs need to provide:
- Monitor/TV + HDMI cable
- USB keyboard and mouse
- MicroUSB power supply (ideally should be rated 5V 2.0A)
Note on power supply: it is perfectly possible to run the Raspberry Pi using a lower rated power supply down to 5V 1.0A. Just look on the side of the power supply to see the rating. You won’t harm the board by plugging in a lower or higher rated supply, so it doesn’t hurt to just try. When the RPi is running, if the power supply isn’t quite enough you’ll see a ‘lightning bolt’ icon on the top right of the screen – typically if the CPU is doing a lot of work. The RPi will still continue to run though.
Hooking It Up
Really simple. Put the MicroSD card into the RPi. Plug HDMI cable between RPi and TV. Plug in keyboard and mouse. Plug in power supply. That’s it!
You should get a green light come on and everything will start to load. On the first boot you’ll need to select an operating system to install. Don’t worry about what this is at the moment. You might see a warning that this will overwrite everything on the card. This is OK as there is no operating system installed yet. Select ‘Raspbian’, and then let it sit and do its magic. It will take a long time!
After this has finished, whenever you turn on the RPi you will be presented with a desktop that you can navigate using the mouse.
What To Do Next?
What to do with the RPi is up to you. Many of you will want to play Minecraft? You’ll find that under the Games section of the menu.
Note on Minecraft. This is not the full version of Minecraft. There is no survival mode etc. What you can do is write programs to make things happen in the Minecraft world. At first this might seem lame, but it is really only limited by your imagination. After all, survival mode is just a program running in the Minecraft world.
When you run Minecraft you may see the world offset from the window. To fix this you need to go to the configuration settings and turn off ‘overscan’. I won’t tell you exactly how to do that because the most important thing you need to learn is…
Explore and find out how to do it yourself!
Replacement Parts
So what happens if you lose the Raspberry Pi or the SD Card? Where can you get a replacement?
There are many places selling the Raspberry Pi online in Singapore, but many of these sell a complete kit which is more expensive. The Raspberry Pis purchased for DCIS Cubs were obtained from RS Electronics. The page to purchase Raspberry Pi Model B+ from RS has links to many other RPi related items. The price should be around S$35.
The other item needed is the SD card. Only 8 GB is really needed to run the RPi, but these are getting harder and harder to find. Also solid state memory prices tend to be quite volatile, so getting hold of many of these at a decent price, even in Sim Lim Square, can take a while. Fortunately, if you are just looking for a replacement, then you have two options:
-
Purchase any SD card from any electronics or mobile phone store (the cards are used as memory cards in smartphones), and install NOOBS onto the card. This latter stage is not too daunting, but will require you to have an SD card reader, and a reasonable ability to navigate around a PC. This route is not too hard, but it’s a little esoteric.
-
Purchase an SD card with NOOBS pre-installed from RS. This is arguably a much easier solution, albeit more expensive. A 16 GB card with NOOBS pre-installed will set you back about S$25, versus less than S$7 for an 8 GB plain card, and installing NOOBS yourself.
For a single purchase I’d go with the pre-installed card, but for a whole bunch of Cubs, the cheap solution is definitely required as the costs rapidly rack up!